
|
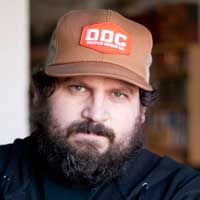
By Adam Buccafusco Olivia and I attended the 2nd Triangle AMA’s (American Marketing Association) High Five Event on behalf of Burning Oak Studios. This year’s conference was just as exciting, entertaining, and enlightening as last year! There was so much information to feed our heads in the two-day event that we had to divide and conquer. I’ll head up the creative aspect and Olivia go into the marketing aspect. The first keynote was the return of Aaron Draplin, the founder of Draplin Design Co. This lovable rock star of design brought a new lecture that once again warmed the cockles of my artistic heart. Draplin discussed his passion for “dead logo” hunting. Aaron would comb through flea markets, swap meets, and estate sales looking for icons of yesteryear. There are beautiful combinations of shapes, colors, and imagery that can be found in vintage branding materials. When you get down in the dumps about being a designer, Aaron Draplin is a reminder that design is suppose to be expressive, open to creativity, and most importantly it’s suppose to be fun! If you’re not having fun designing, maybe a trip to the local rummage sale will inspire and rejuvenate your creative spark. 
I sat in on the breakout session titled Data-Driven Design with ReverbNation’s Chris Johnston. ReverbNation is a site that boosts promotion for over 4 million musicians, managers, labels, venues, and events around the globe. Johnston explains how the altering and redesigning your interface can affect your analytic trends positively and negatively. The Sr. Director of Product Management describes a scenario where the simple color change for a navigation bar dramatically impacted how users were flowing through the site. The charts dips badly due to the nothing more than a color change. The designers had no choice but to switched back to the original bold black bar, which cause the charts to level out again. Using data trend to keep your message clear
All things considered, I felt this year was as good as last year. The show was a bit tighter and handled the weather issues well. My suggestion for High Five is add more breakout sessions about executing design and promotional campaigns, and maybe even some tips on dealing with the cost of production. I believe the Triangle AMA’s High Five event is going to get better with every year. Check back in with the burningoakstudios.com and OakNotes to find out what Olivia thought about her experience.
0 Comments
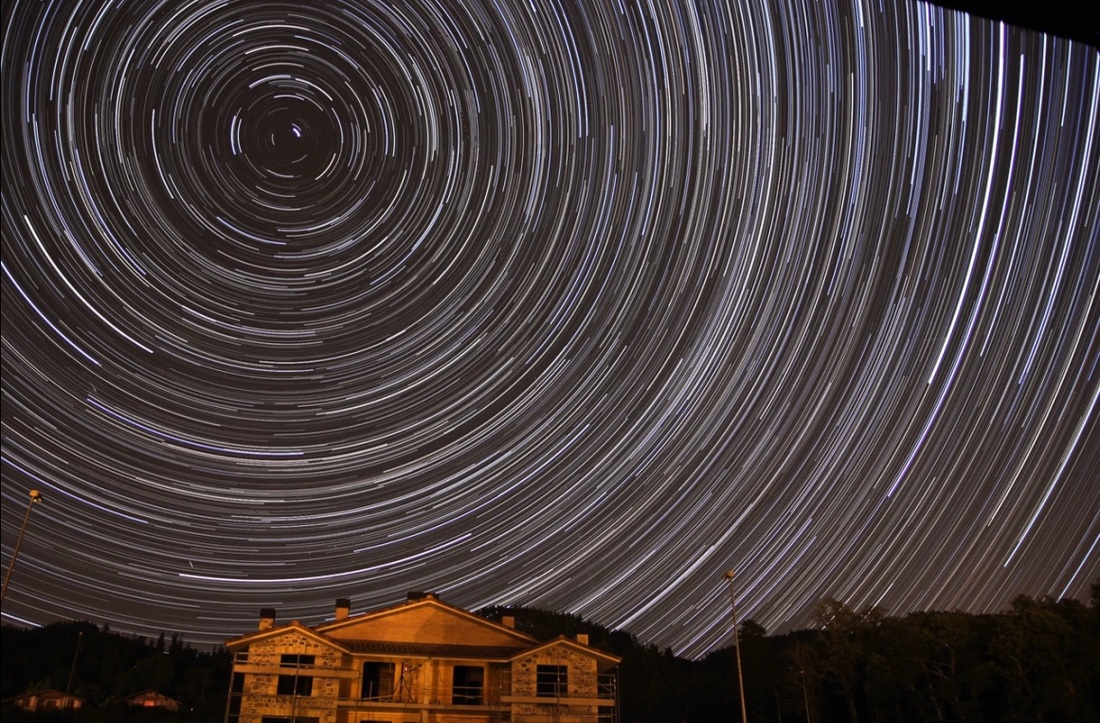 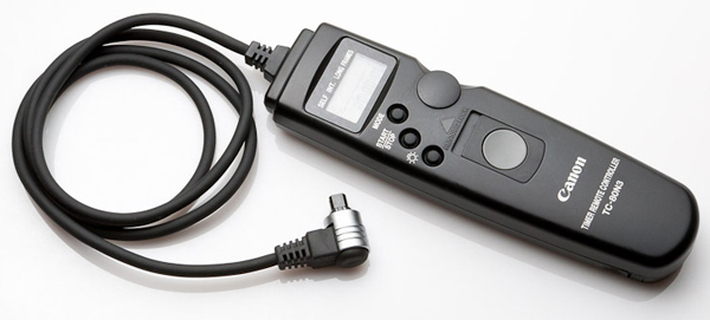 By Will Campbell I began my venture into the world of timelapses a couple years ago as a way to integrate my love of photography and my profession of videography. The two fit together perfectly, as they are essentially made of the same building blocks – a single image. Photography captures a single image, a solitary moment in time that can tell a story and convoke emotion. Video strives to do the same thing, but instead of a single image, video captures several (hundreds/thousands) individual images and pieces them together into a moving sequence. Each single image in a video is called a “frame” and that frame represents the equivalent of one photograph. Video is often captured at 24 or 30 fps, or frames-per-second, so a one-second video clip will contain 24 or 30 single images. The subtle change between each frame translates to our mind as movement, making these images come to life. Timelapses take this same idea, capturing a sequence of images, but manipulates one crucial element – Time. Like a video, timelapses capture a sequence of images. But unlike video, timelapses leave large gaps between each image. When all the pieces are finally put together, the series of individual photographs become a video. The gaps in time are really what bring the timelapse to life. Shadows creeping across your patio, clouds shape-shifting along a blue sky, tides coming in and out again… All too subtle to notice with our naked eye in real time, but they can create a truly stunning timelapse. I was lucky enough to attend a timelapse workshop last summer out in Moab, Utah – a beautiful and remote part of the country with gorgeous landscapes and some of the darkest skies around for stargazing. We spent a week learning the technical aspects of shooting a timelapse, and then practicing in the field. And lucky for you, I’ve put some of the essential tips and tricks here for you so you can get started on your own timelapses! Equipment: As it goes in video and photography, there are plenty of cool gadgets and tools that will help bring your timelapses to a higher level. But here are the basic things you need to get started. - DSLR Camera – A camera to take the photos - Tripod – Once you start, you can’t move the camera. A good tripod is essential in stabilizing your camera and avoiding movement. Trust me, even small movements or bumps will be apparent in the end. - Intervalometer – This is the tool that tells the camera how often to take a photo. Intervalometers vary by brand, but the basic function is just to tell the camera at what interval to take a photo. - Memory Card – I would recommend a 32gb card minimum to make sure you have enough space and can capture a long enough sequence. - Patience – Timelapses are a long and lonely process. Once you start, you need to be patient and let the camera run its course. I suggest bringing a book! Camera Settings: Got all that? Great! Almost ready to go! Now the question is how to prepare the camera for your timelapse. You’ll want to set up your camera for current conditions, and ideally leave the camera alone once you start shooting. That makes adjusting for changing light (such as sunrise/sunset) difficult, but I’ll save that for another post. Take a few test shots to make sure your exposure and framing look good. Here are a few tips for your camera settings to consider. - Go Manual – Make sure your camera is in Manual mode for all settings, especially for White Balance and Focus. Using the Auto settings, the camera will attempt to re-calibrate for each photo and will often result in inconsistencies throughout your timelapse. - ISO – The lower number the better. ISO will add some brightness to your shot, but the higher the number the more grain, or noise you get, especially in blacks, shadows, and other dark settings. You can use a higher ISO in photography than in video, but don’t go over 800 in Daytime and 3200 in Nighttime shoots. - F/stop – The lower the number the more light comes in, but also the shallower depth of field. For Daytime shoots, use whatever works for your shot. For Nighttime shoots, use the lowest number available (probably 2.8 or 3.4). - Shutter – Also called exposure, this number refers to how long your camera shutter is open, collecting light and information. For Daytime use a fast shutter speed. For Nighttime use significantly longer shutter speed, but no more than 30-seconds. Shutter speeds that are too slow can blow out the image, or cause things to have a motion blur or streaks (which could be an artistic choice). That should be a good start. Post-Production is worth a whole new blog post, but the main idea is to bring all of your photos into a video-editing program, such as Final Cut Pro or Adobe Premiere. Give each photo a length of 1 frame, and drop them into your timeline. When you play it back you should see your hundreds of photos come to life in a beautiful timelapse video! And just in case you were curious, here is the final timelapse video I produced after my workshop in Moab. Enjoy! By Michael Goldstein
|


| By Dan Herzog In early October, Ming, Olivia, and I had the opportunity to do some aerial photography. Our client, whom happened to own a single engine 4 seat Cessna, wanted aerial video and photography of their campus as well as their training farm. The plane had already been fit with multiple exterior GoPro rigs along with iPad screens in the cockpit for live viewing. Using the iPad screens and our iPhones, we were able to make sure the cameras were in the proper positions we wanted. Early on we had decided that the GoPros would make for some great cut away shots, but they won’t allow us to get the close up shots that our client was looking for. 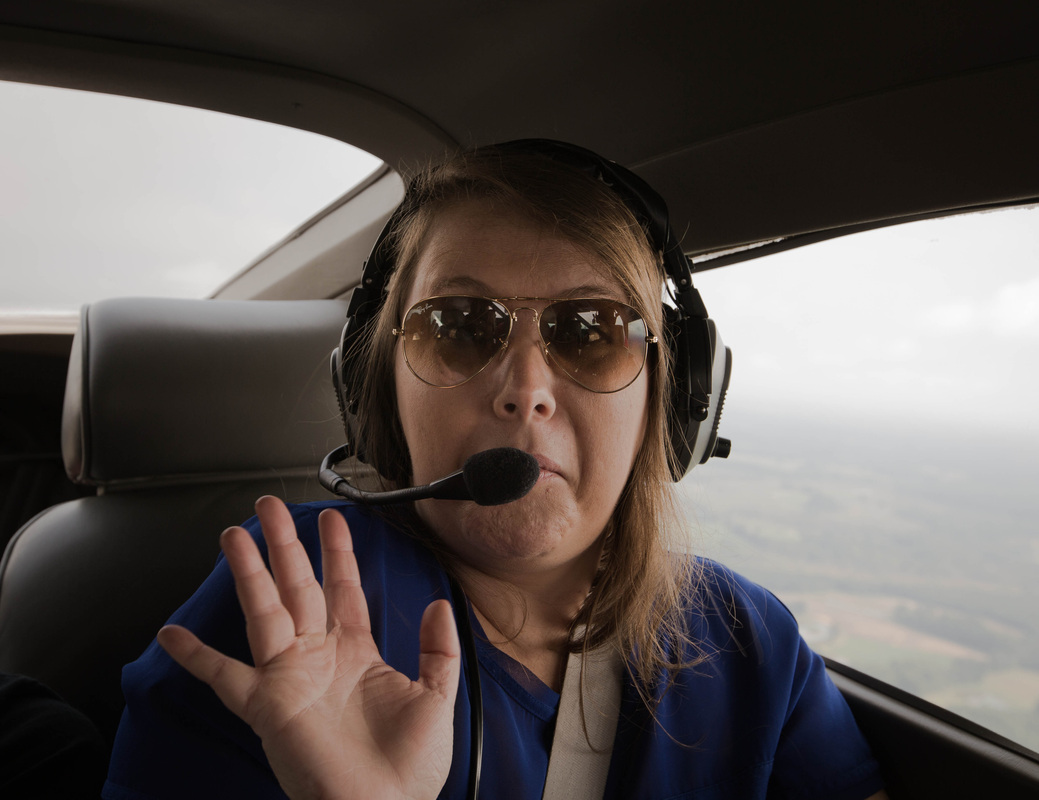
Once in flight, we realized that both the instability of the plane and the room to move around, especially with these long lenses, would be a major factor in getting the shots we wanted. 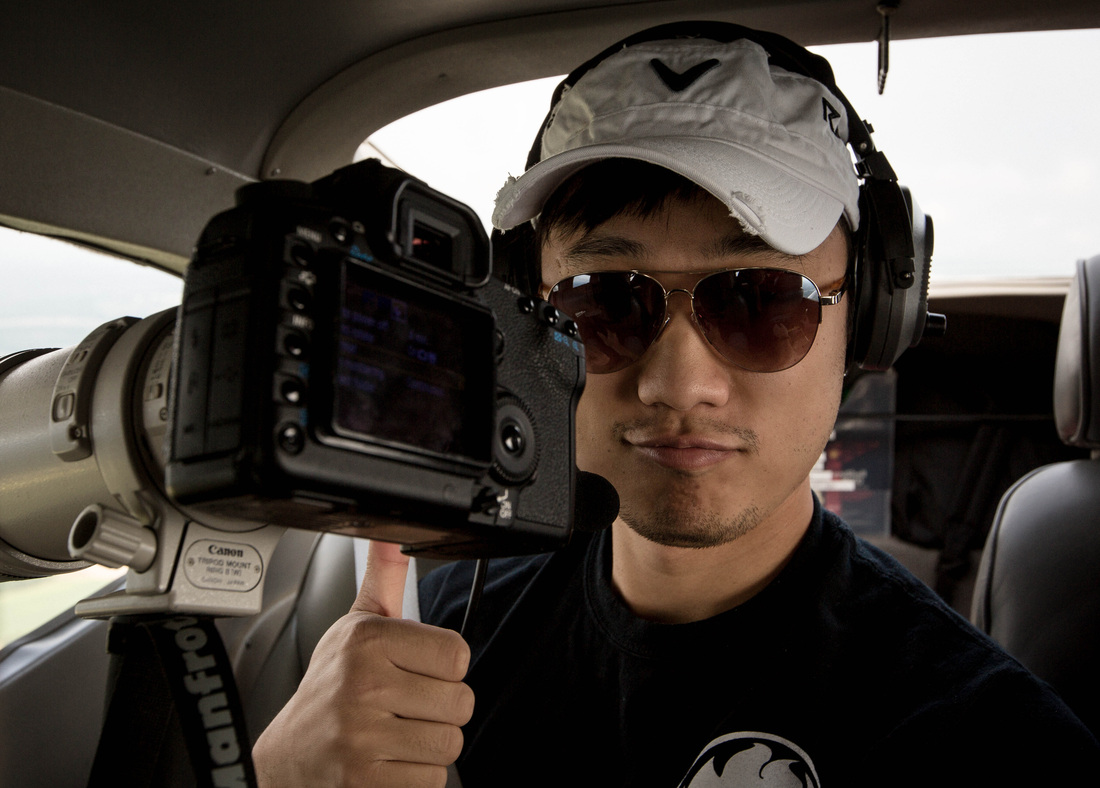
After about two hours and multiple flybys, we were able to get all of our shots. Below is a short video of our adventure! | 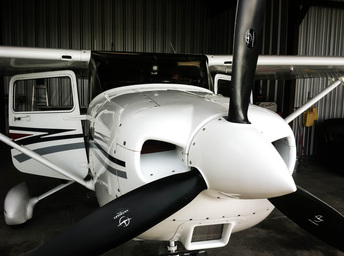
Ming and I discussed a wide range of lenses that would enable us to get our aerial shots while also adhering to aviation laws that limit how close to the ground you can get while in the air. We ended up deciding on Canon’s 100-400mm as the primary camera, and the 70-200mm as the secondary camera. Once we saw the interior of the plane, we decided that Ming would sit in the back seat with Olivia. The back seat had larger windows and more room to move around. I ended up sitting in the front with the pilot. 
While the client flew us to their campus, Ming and I were able to practice our shots while competing with the light vibrations of the plane. For the most, the plane was a lot smoother than flying on a commercial airline. 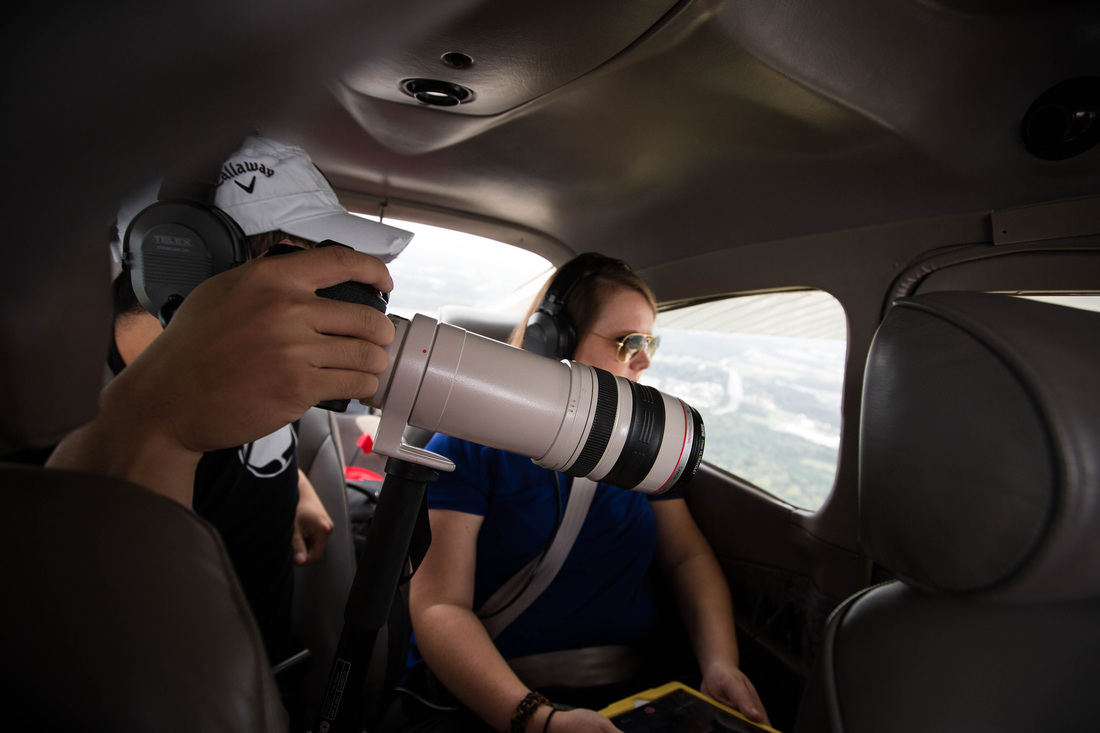
|
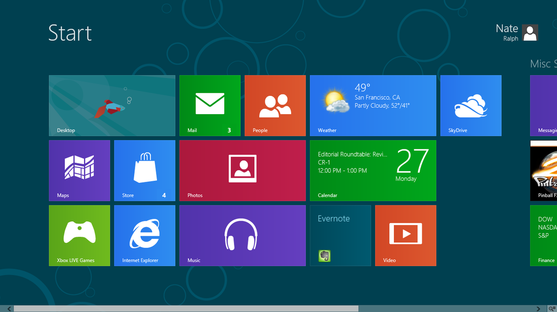
There has been a big shift in design trends over the last three years or so. Maybe you have noticed that your polished icons on your computer, phone, or tablet look as though they have been run through a press. Gone are the days of highlights, shadows, and luster. Welcome to the day of the flat boring universal conformity of two-dimensional design. What happened to all the artistic value behind three-dimensional design? What is the benefit of simpler streamlined design? Where is the future of design going? I present one designer’s beliefs (my own) of what lead to “The Great Flattening”.
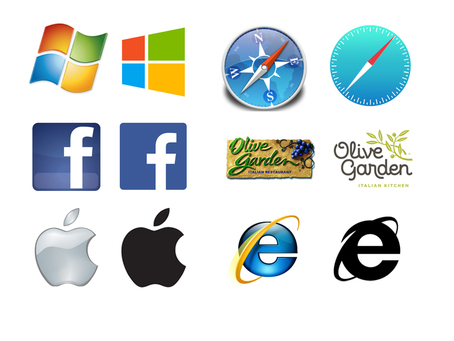
It is my prediction as mankind and technology move forward, asthenic value of corporate design will be broken down even further, to the essence of forms and colors. This concept is portrayed in many of modern and postmodern art pieces; IE the essence of sculpture is a cube, let’s all stand around a gallery and admire at a box!
It is the responsibility of the designer to take note of these design trends and adapt their work with the changing times. Although, I may long for the styles of yesteryear, the skillful, rich, gradient filled designs, I must pocket those tricks of the trade and make good designs without all those very special effects.
Check out this link from Intacto to see who will win Flat Design or Realism!
http://www.flatvsrealism.com/
Burning Oak Studios has filmed thousands of spots over the years, and what can really make or break a video is who is delivering the message
Talent:
When it comes to the delivery of your message, the face you see and/or voice you hear is paramount. If there is one area you do not want to skimp on, it¹s the actors and actresses. This is especially true of
corporate videos made to represent your brand.
It's time to face a hard truth for some. Not every entrepreneur, CEO, or business owner has the camera charisma of say a Walt Disney, Steve Jobs, or even Dave Thomas.
Quite often we will have a client come to us to produce a video for their company, and has decided that they want to star in their own production. Although we will always do what our clients request, I will always advise, if the client has no prior on camera experience, to hire professional talent. In a city like Raleigh, there is plenty of fantastic, non-union talent, who are trained professionals to present your brand professionally and hold the attention of your audience.
Frequently, when we film with people who are new to performing, it will end up costing more, as we need to do more takes and edit more footage to create the final video. For the cost of hiring an actor or actress, it's almost guaranteed that the final video will cost less and look much more
professional.
Our goal is to make for you the most polished video possible that will make the impact on the audience you¹re looking for. Casting the right people does not have to be a difficult or lengthy process, and something we handle frequently for our clients.
The bottom line is if you are considering paying professionals to film your videos, I suggest you think long and hard about whom you decide to be on camera representing you.
Working in video production requires a lot of different hats. One of those hats is “techie geek.” Ever since the switch to digital, our industry has been tied to the micro-chips and sensors inside of our cameras and computers.
The advancement of technology is lighting quick. Blink and you’ll miss it. At Last year’s NAB Show (National Association of Broadcasters), Freddy Wong, a respected industry professional told me this, “The camera inside of your smart phone is now better than any digital camera 5 years ago.” Think about that for a second. Let it sink in. Now bring it back because you don’t want to miss this year’s changes.
It’s been peering at us from a distance for a while, tempting us with its TV’s we don’t quite need yet (but would love to have). However, it’s looking like 2015 will be the year of 4k. Yes, that’s right, 4k is going to happen; if not by the end of 2015, then 2016 for certain. Just listen to popular Youtube techie, Marques Brownlee, explain it in his recent video.
Do you own a 4k TV/computer monitor/camera yet? Is our industry trending towards 4k faster than we think? We are looking forward to shooting 4k for our clients in the future.
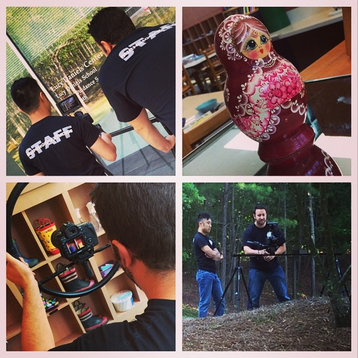
The Lucy Daniels Center is a community resource located in Cary where children from birth to age 12 can find help to meet specific needs. Therapies, in-home assistance, counseling for parents and families, and the Lucy Daniels School make up the largest area provider of children’s mental health care in the Triangle.
Each year, the Lucy Daniels Center hosts a fundraising event, Expressions, at the Umstead Hotel and Spa – which we have been fortunate to be involved with for the passed two years creating videos for the event. After getting to know the Burning Oak Studios experience, they couldn’t wait to do more videos
We collaborated for several months to develop the perfect message – a video that would reach out to parents who might be struggling for answers, as well as expressing to the community why the center is so important and how to get involved.
After a full day of filming interviews and b-roll, our editor came up with a 45-minute first draft. Now obviously this wasn’t the final video, but you have to start somewhere! I would much rather be in a situation where you have too much good footage than not enough. In the end, it was cut down around 6 minutes and explains what a family can expect when coming to the Lucy Daniels Center.
My favorite part of any shoot is getting to interview people. In this case, it was the staff, board members, and families who told their stories. It isn’t always easy to get people to open up on camera, with all the crew and lights in your face, but I enjoy a challenge! And when you see it all come together, that long day of filming is definitely worth it. Plus, we have enough footage for a documentary if they wanted one… Wink, wink.
Check out the video below!
Continuing our peek behind the curtain of the costs of making videos, today we move on to the second consideration, and it’s a doozy…
Location:
Filming in the Himalayas is expensive for obvious reasons. Getting there for one. Getting power for the lights might be tricky. Yeti repellant costs a small fortune on it’s own. But chances are, you don’t need to film in the Himalayas. You might just need a city park, or a coffee shop, or perhaps an office type setting. Filming at any location most likely has costs associated with it. Filming permits for public shoots, rental fees for facilities, liability insurance, just to name a few.
More important than these fees, which vary from location to location, is the number of locations needed for filming a particular video. Say you have in mind four different locations for a particular shoot. Besides any fees that might be accrued from each of the above mentioned, each location is also a complete set up and breakdown for the production team. Not to mention travel time there and back, plus most professional video production companies will want to scout a location ahead of time, looking out for potential issues, like noise or lighting.
If your looking to keep your costs down, you will find that keeping the amount of locations on your shoot to a minimum will have a huge make a huge impact at the cost of production. If you’re lucky, or have a clever writing team, you might find a single location that has all of your needs in one place.
One last note on this, or perhaps it’s a warning. A green screen has its place in video production, but making your audience believe you are actually filming somewhere you’re not isn’t one of them. (At least not for the price that you could have just gone to most actual locations.) Graphic intensive postproduction can add huge cost to your project, but more on that is for another post.

In video production having a client request a “DVD copy” of a final video or some footage is not that uncommon. And yet, whenever I follow up by asking if they want a Video or Data DVD, I always get the same response: “Uhhhhh…” which I often translate as “What’s the difference?” A DVD is a DVD, right? Not quite… So what IS the difference between a Video and a Data DVD? Really, it’s just how you/we/I burn the disk on the computer. But the real difference is how you plan on using the DVD in the future.
Video DVDs are exactly what you’d expect – a disk that plays a video file in your DVD player, just like you’d buy from the store. To accomplish this, we export the final video in a format that can be read by our DVD-creating software. We build DVD menus, sometimes add chapter markers so you can skip around the video, or maybe make a continuous loop to be played in a business lobby, or a store display demo – whatever fits the specific needs. But the important thing to know is that you need a DVD player or a computer with a DVD drive to watch it.
A Data DVD is essentially a disk-shaped hard drive that stores files, video or other, typically used on a computer. Standard DVDs have a 4.2gb capacity, so you can burn that amount worth of data files onto the disk. And they are not just limited to video files. You could use a Data DVD to backup all your photos from your latest vacation, or make a copy to give to friends or family. Or maybe you just need an extra digital copy of a video, but it’s too large to send online – Just burn a Data DVD and you can copy that digital file from the disk to your computer. Think of a Data DVD as a 4gb thumb-drive. The only downside is that you can’t erase the information and re-use the disk later. Once it’s burned, the data lives on that disk for good.
So when a client asks for a DVD, the real question is “What do you want to do with this DVD?” Another thing to consider is making sure you have the equipment to use the DVD. Sounds like a silly thing to say, but we are seeing a shift in technology where smart-phones and tablets can do the same job as a laptop, and many new computers don’t even have disk drives. These are all important things to consider when asking for a DVD copy. Who knew it was such a loaded question?
OAKNOTES
Categories
Archives
February 2018
December 2015
October 2015
September 2015
August 2015
July 2015
June 2015
May 2015
April 2015
March 2015
February 2015
January 2015
December 2014
March 2014
February 2014
November 2013
September 2013
July 2013
June 2013
February 2013
October 2012
September 2012
June 2012
March 2012
December 2011
August 2011
July 2011
June 2011
April 2011
February 2011
January 2011
November 2010
October 2010
September 2010
August 2010
July 2010
June 2010
May 2010
February 2010
January 2010
November 2009
October 2009
September 2009
August 2009
July 2009
June 2009
May 2009
April 2009
March 2009
 RSS Feed