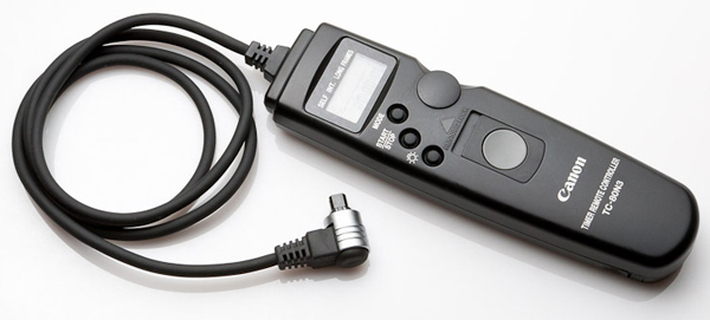
 By Will Campbell I began my venture into the world of timelapses a couple years ago as a way to integrate my love of photography and my profession of videography. The two fit together perfectly, as they are essentially made of the same building blocks – a single image. Photography captures a single image, a solitary moment in time that can tell a story and convoke emotion. Video strives to do the same thing, but instead of a single image, video captures several (hundreds/thousands) individual images and pieces them together into a moving sequence. Each single image in a video is called a “frame” and that frame represents the equivalent of one photograph. Video is often captured at 24 or 30 fps, or frames-per-second, so a one-second video clip will contain 24 or 30 single images. The subtle change between each frame translates to our mind as movement, making these images come to life. Timelapses take this same idea, capturing a sequence of images, but manipulates one crucial element – Time. Like a video, timelapses capture a sequence of images. But unlike video, timelapses leave large gaps between each image. When all the pieces are finally put together, the series of individual photographs become a video. The gaps in time are really what bring the timelapse to life. Shadows creeping across your patio, clouds shape-shifting along a blue sky, tides coming in and out again… All too subtle to notice with our naked eye in real time, but they can create a truly stunning timelapse. I was lucky enough to attend a timelapse workshop last summer out in Moab, Utah – a beautiful and remote part of the country with gorgeous landscapes and some of the darkest skies around for stargazing. We spent a week learning the technical aspects of shooting a timelapse, and then practicing in the field. And lucky for you, I’ve put some of the essential tips and tricks here for you so you can get started on your own timelapses! Equipment: As it goes in video and photography, there are plenty of cool gadgets and tools that will help bring your timelapses to a higher level. But here are the basic things you need to get started. - DSLR Camera – A camera to take the photos - Tripod – Once you start, you can’t move the camera. A good tripod is essential in stabilizing your camera and avoiding movement. Trust me, even small movements or bumps will be apparent in the end. - Intervalometer – This is the tool that tells the camera how often to take a photo. Intervalometers vary by brand, but the basic function is just to tell the camera at what interval to take a photo. - Memory Card – I would recommend a 32gb card minimum to make sure you have enough space and can capture a long enough sequence. - Patience – Timelapses are a long and lonely process. Once you start, you need to be patient and let the camera run its course. I suggest bringing a book! Camera Settings: Got all that? Great! Almost ready to go! Now the question is how to prepare the camera for your timelapse. You’ll want to set up your camera for current conditions, and ideally leave the camera alone once you start shooting. That makes adjusting for changing light (such as sunrise/sunset) difficult, but I’ll save that for another post. Take a few test shots to make sure your exposure and framing look good. Here are a few tips for your camera settings to consider. - Go Manual – Make sure your camera is in Manual mode for all settings, especially for White Balance and Focus. Using the Auto settings, the camera will attempt to re-calibrate for each photo and will often result in inconsistencies throughout your timelapse. - ISO – The lower number the better. ISO will add some brightness to your shot, but the higher the number the more grain, or noise you get, especially in blacks, shadows, and other dark settings. You can use a higher ISO in photography than in video, but don’t go over 800 in Daytime and 3200 in Nighttime shoots. - F/stop – The lower the number the more light comes in, but also the shallower depth of field. For Daytime shoots, use whatever works for your shot. For Nighttime shoots, use the lowest number available (probably 2.8 or 3.4). - Shutter – Also called exposure, this number refers to how long your camera shutter is open, collecting light and information. For Daytime use a fast shutter speed. For Nighttime use significantly longer shutter speed, but no more than 30-seconds. Shutter speeds that are too slow can blow out the image, or cause things to have a motion blur or streaks (which could be an artistic choice). That should be a good start. Post-Production is worth a whole new blog post, but the main idea is to bring all of your photos into a video-editing program, such as Final Cut Pro or Adobe Premiere. Give each photo a length of 1 frame, and drop them into your timeline. When you play it back you should see your hundreds of photos come to life in a beautiful timelapse video! And just in case you were curious, here is the final timelapse video I produced after my workshop in Moab. Enjoy!
0 Comments
By Michael Goldstein
|
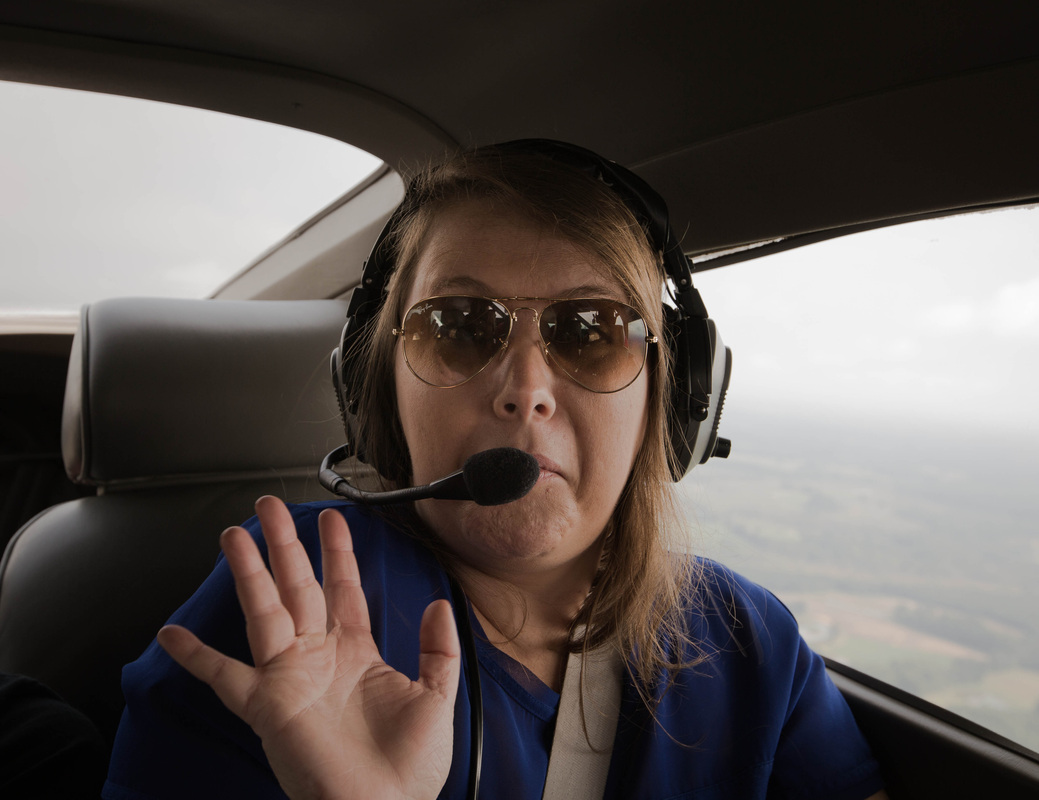
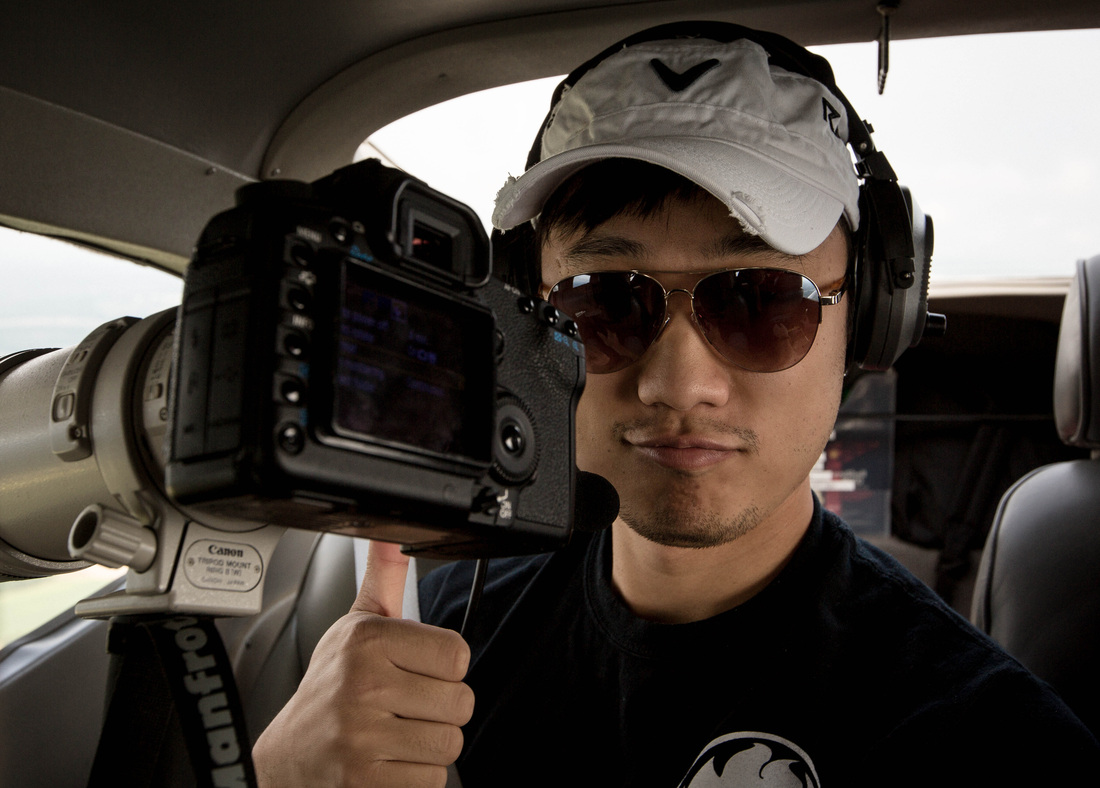
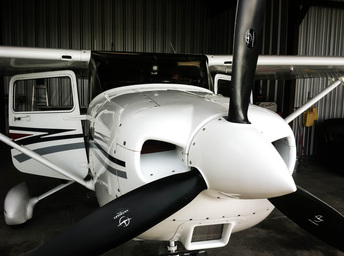
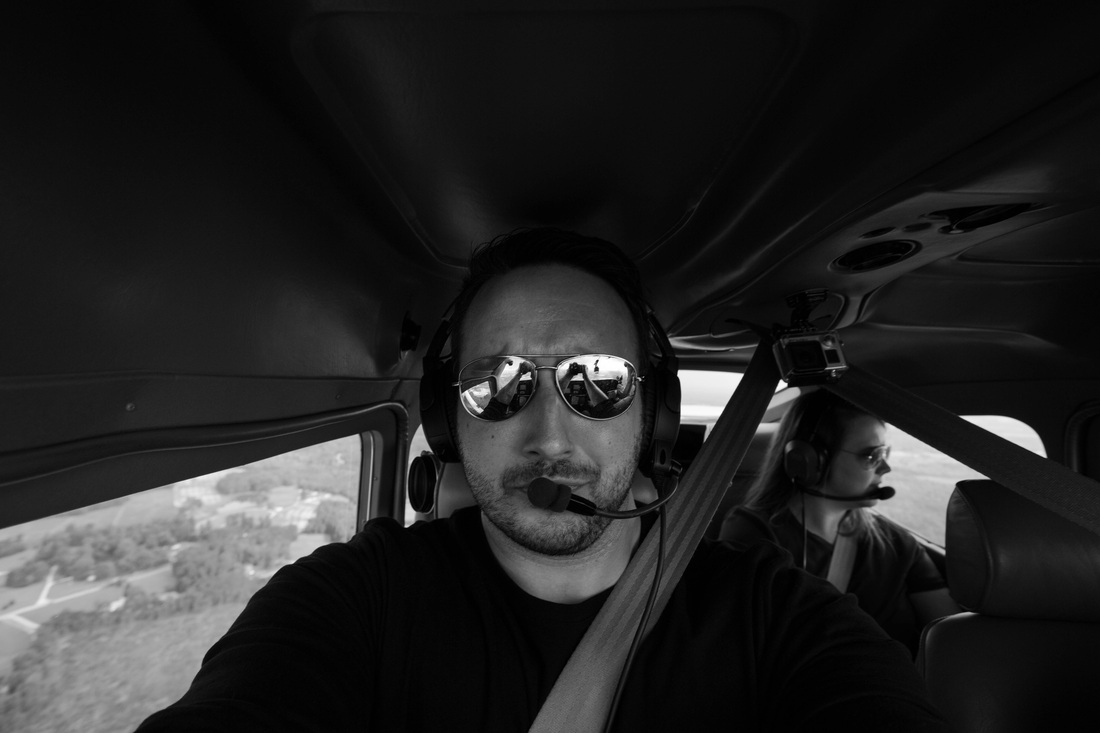
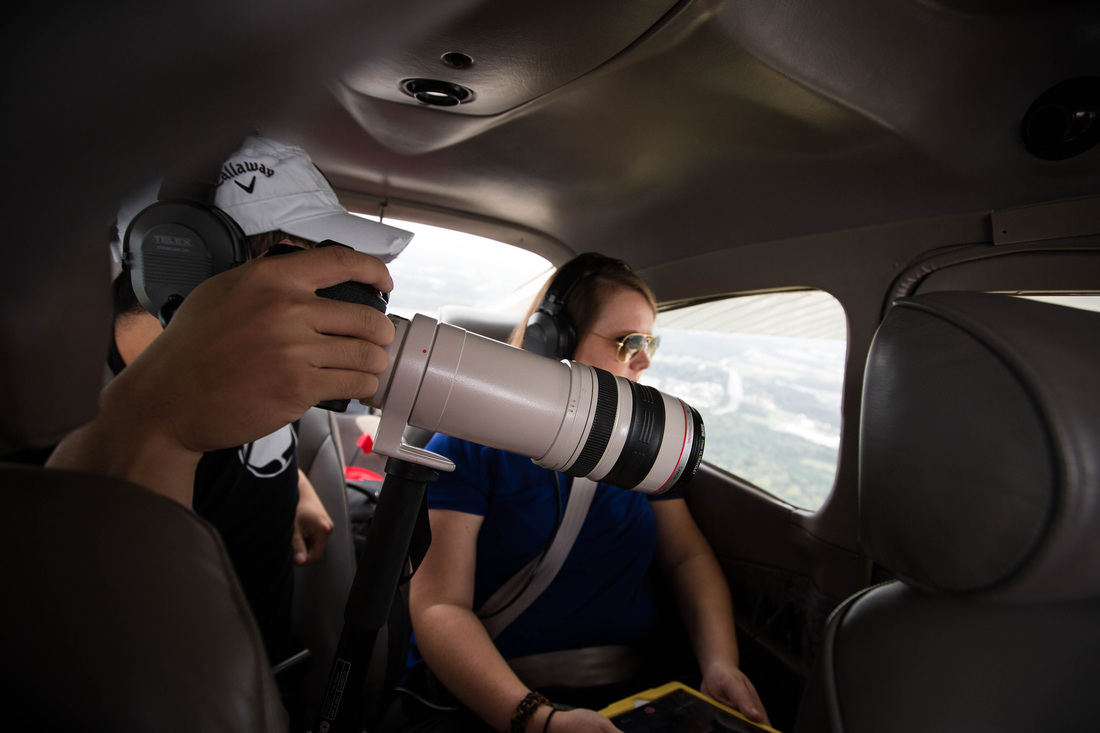
| By Dan Herzog In early October, Ming, Olivia, and I had the opportunity to do some aerial photography. Our client, whom happened to own a single engine 4 seat Cessna, wanted aerial video and photography of their campus as well as their training farm. The plane had already been fit with multiple exterior GoPro rigs along with iPad screens in the cockpit for live viewing. Using the iPad screens and our iPhones, we were able to make sure the cameras were in the proper positions we wanted. Early on we had decided that the GoPros would make for some great cut away shots, but they won’t allow us to get the close up shots that our client was looking for. Once in flight, we realized that both the instability of the plane and the room to move around, especially with these long lenses, would be a major factor in getting the shots we wanted. After about two hours and multiple flybys, we were able to get all of our shots. Below is a short video of our adventure! | Ming and I discussed a wide range of lenses that would enable us to get our aerial shots while also adhering to aviation laws that limit how close to the ground you can get while in the air. We ended up deciding on Canon’s 100-400mm as the primary camera, and the 70-200mm as the secondary camera. Once we saw the interior of the plane, we decided that Ming would sit in the back seat with Olivia. The back seat had larger windows and more room to move around. I ended up sitting in the front with the pilot. While the client flew us to their campus, Ming and I were able to practice our shots while competing with the light vibrations of the plane. For the most, the plane was a lot smoother than flying on a commercial airline. |
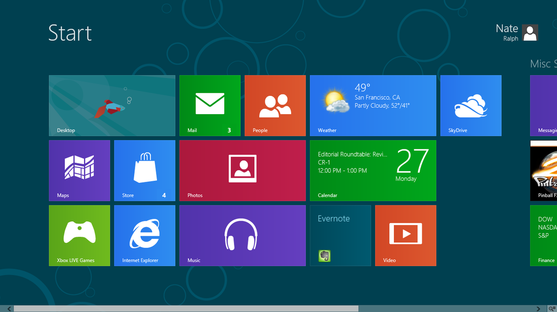
There has been a big shift in design trends over the last three years or so. Maybe you have noticed that your polished icons on your computer, phone, or tablet look as though they have been run through a press. Gone are the days of highlights, shadows, and luster. Welcome to the day of the flat boring universal conformity of two-dimensional design. What happened to all the artistic value behind three-dimensional design? What is the benefit of simpler streamlined design? Where is the future of design going? I present one designer’s beliefs (my own) of what lead to “The Great Flattening”.
It is my prediction as mankind and technology move forward, asthenic value of corporate design will be broken down even further, to the essence of forms and colors. This concept is portrayed in many of modern and postmodern art pieces; IE the essence of sculpture is a cube, let’s all stand around a gallery and admire at a box!
It is the responsibility of the designer to take note of these design trends and adapt their work with the changing times. Although, I may long for the styles of yesteryear, the skillful, rich, gradient filled designs, I must pocket those tricks of the trade and make good designs without all those very special effects.
Check out this link from Intacto to see who will win Flat Design or Realism!
http://www.flatvsrealism.com/
Burning Oak Studios has filmed thousands of spots over the years, and what can really make or break a video is who is delivering the message
Talent:
When it comes to the delivery of your message, the face you see and/or voice you hear is paramount. If there is one area you do not want to skimp on, it¹s the actors and actresses. This is especially true of
corporate videos made to represent your brand.
It's time to face a hard truth for some. Not every entrepreneur, CEO, or business owner has the camera charisma of say a Walt Disney, Steve Jobs, or even Dave Thomas.
Quite often we will have a client come to us to produce a video for their company, and has decided that they want to star in their own production. Although we will always do what our clients request, I will always advise, if the client has no prior on camera experience, to hire professional talent. In a city like Raleigh, there is plenty of fantastic, non-union talent, who are trained professionals to present your brand professionally and hold the attention of your audience.
Frequently, when we film with people who are new to performing, it will end up costing more, as we need to do more takes and edit more footage to create the final video. For the cost of hiring an actor or actress, it's almost guaranteed that the final video will cost less and look much more
professional.
Our goal is to make for you the most polished video possible that will make the impact on the audience you¹re looking for. Casting the right people does not have to be a difficult or lengthy process, and something we handle frequently for our clients.
The bottom line is if you are considering paying professionals to film your videos, I suggest you think long and hard about whom you decide to be on camera representing you.
OAKNOTES
Categories
Archives
February 2018
December 2015
October 2015
September 2015
August 2015
July 2015
June 2015
May 2015
April 2015
March 2015
February 2015
January 2015
December 2014
March 2014
February 2014
November 2013
September 2013
July 2013
June 2013
February 2013
October 2012
September 2012
June 2012
March 2012
December 2011
August 2011
July 2011
June 2011
April 2011
February 2011
January 2011
November 2010
October 2010
September 2010
August 2010
July 2010
June 2010
May 2010
February 2010
January 2010
November 2009
October 2009
September 2009
August 2009
July 2009
June 2009
May 2009
April 2009
March 2009


 RSS Feed