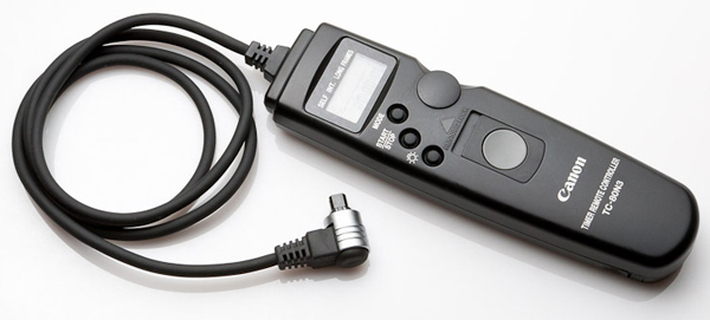
  By Will Campbell I began my venture into the world of timelapses a couple years ago as a way to integrate my love of photography and my profession of videography. The two fit together perfectly, as they are essentially made of the same building blocks – a single image. Photography captures a single image, a solitary moment in time that can tell a story and convoke emotion. Video strives to do the same thing, but instead of a single image, video captures several (hundreds/thousands) individual images and pieces them together into a moving sequence. Each single image in a video is called a “frame” and that frame represents the equivalent of one photograph. Video is often captured at 24 or 30 fps, or frames-per-second, so a one-second video clip will contain 24 or 30 single images. The subtle change between each frame translates to our mind as movement, making these images come to life. Timelapses take this same idea, capturing a sequence of images, but manipulates one crucial element – Time. Like a video, timelapses capture a sequence of images. But unlike video, timelapses leave large gaps between each image. When all the pieces are finally put together, the series of individual photographs become a video. The gaps in time are really what bring the timelapse to life. Shadows creeping across your patio, clouds shape-shifting along a blue sky, tides coming in and out again… All too subtle to notice with our naked eye in real time, but they can create a truly stunning timelapse. I was lucky enough to attend a timelapse workshop last summer out in Moab, Utah – a beautiful and remote part of the country with gorgeous landscapes and some of the darkest skies around for stargazing. We spent a week learning the technical aspects of shooting a timelapse, and then practicing in the field. And lucky for you, I’ve put some of the essential tips and tricks here for you so you can get started on your own timelapses! Equipment: As it goes in video and photography, there are plenty of cool gadgets and tools that will help bring your timelapses to a higher level. But here are the basic things you need to get started. - DSLR Camera – A camera to take the photos - Tripod – Once you start, you can’t move the camera. A good tripod is essential in stabilizing your camera and avoiding movement. Trust me, even small movements or bumps will be apparent in the end. - Intervalometer – This is the tool that tells the camera how often to take a photo. Intervalometers vary by brand, but the basic function is just to tell the camera at what interval to take a photo. - Memory Card – I would recommend a 32gb card minimum to make sure you have enough space and can capture a long enough sequence. - Patience – Timelapses are a long and lonely process. Once you start, you need to be patient and let the camera run its course. I suggest bringing a book! Camera Settings: Got all that? Great! Almost ready to go! Now the question is how to prepare the camera for your timelapse. You’ll want to set up your camera for current conditions, and ideally leave the camera alone once you start shooting. That makes adjusting for changing light (such as sunrise/sunset) difficult, but I’ll save that for another post. Take a few test shots to make sure your exposure and framing look good. Here are a few tips for your camera settings to consider. - Go Manual – Make sure your camera is in Manual mode for all settings, especially for White Balance and Focus. Using the Auto settings, the camera will attempt to re-calibrate for each photo and will often result in inconsistencies throughout your timelapse. - ISO – The lower number the better. ISO will add some brightness to your shot, but the higher the number the more grain, or noise you get, especially in blacks, shadows, and other dark settings. You can use a higher ISO in photography than in video, but don’t go over 800 in Daytime and 3200 in Nighttime shoots. - F/stop – The lower the number the more light comes in, but also the shallower depth of field. For Daytime shoots, use whatever works for your shot. For Nighttime shoots, use the lowest number available (probably 2.8 or 3.4). - Shutter – Also called exposure, this number refers to how long your camera shutter is open, collecting light and information. For Daytime use a fast shutter speed. For Nighttime use significantly longer shutter speed, but no more than 30-seconds. Shutter speeds that are too slow can blow out the image, or cause things to have a motion blur or streaks (which could be an artistic choice). That should be a good start. Post-Production is worth a whole new blog post, but the main idea is to bring all of your photos into a video-editing program, such as Final Cut Pro or Adobe Premiere. Give each photo a length of 1 frame, and drop them into your timeline. When you play it back you should see your hundreds of photos come to life in a beautiful timelapse video! And just in case you were curious, here is the final timelapse video I produced after my workshop in Moab. Enjoy!
0 Comments
Leave a Reply. |
OAKNOTESCategoriesArchives
February 2018
|

 RSS Feed